Kick start your first Drupal contribution

Drupal contribution: All You Need to Know
Drupal contribution refers to the collective effort of individuals and organizations who contribute their time, skills, and expertise to the development, improvement, and maintenance of the Drupal content management system (CMS).
Drupal is an open-source platform, and its development relies heavily on contributions from a diverse community of developers, designers, themers, testers, documentation writers, and more.
Why Contribute to Drupal
The Drupal Core project provides the base functionality of Drupal, you can contribute to improving its design, code, documentation, etc
- Your contributions enable Drupal to remain current and relevant in light of all the dependencies it depends on over time.
- You can learn more about Drupal, which can help you create better applications for your customers.
- Organizations that sponsor time for contribution get a competitive advantage since their developers become more skilled and knowledgeable and establish themselves as authorities.
- Work together and connect with individuals who have similar interests to yours.
How to Contribute
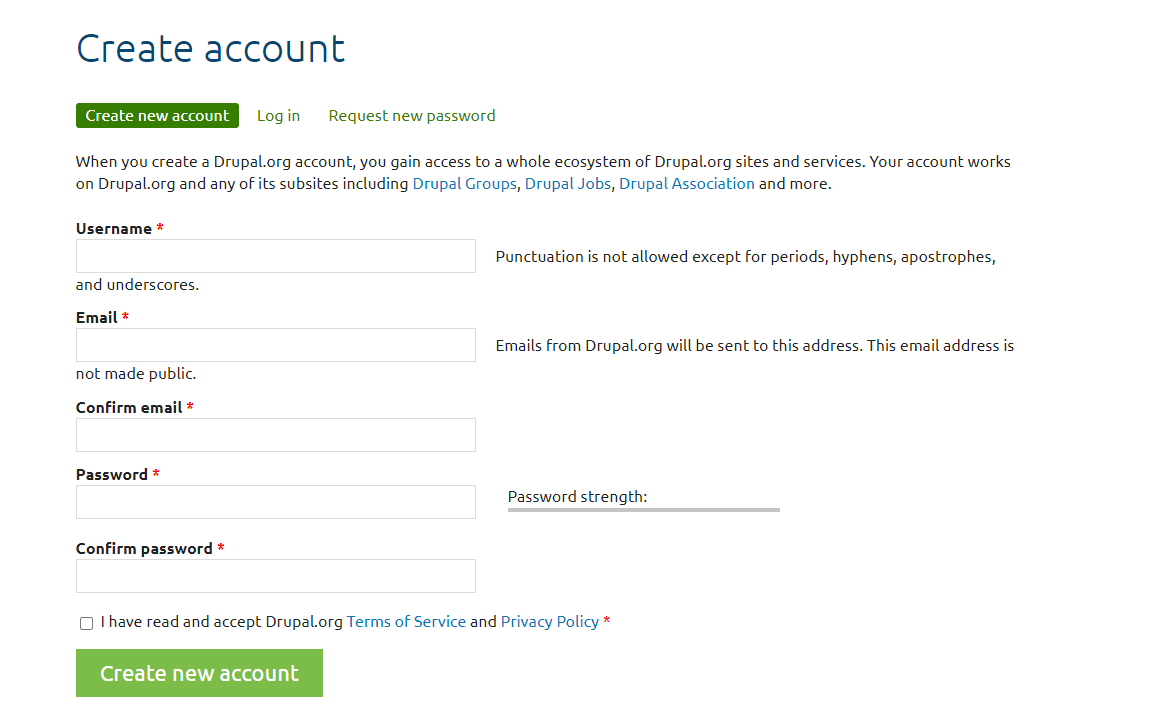
First, you need to create an account in Drupal.org
Before you start contributing, create an account on drupal.org. This account will be your identity in the Drupal community.
You can contribute to Drupal in various ways, such as fixing issues in modules and themes. Additionally, you can create new projects, including contrib modules and themes. Another way to contribute is by starting a new blog focused on Drupal.
Contribute Via fixing the issues of the contrib module and themes:
Life Cycle of Drupal Issues
Once an issue is created, it goes through different states. The following are the different issue statuses you will come across:
Active
When a new issue is created, it is in an Active state.
Needs review
Once the issue is picked, the patches are successfully submitted and all the test cases are passing, the issue’s state should be changed to Needs Review.
Needs work
When the issue needs to be worked upon, it is in a Needs Work state.
Reviewed & tested by the community
Once the issue is reviewed by any contributor, the issue is moved to the “Reviewed & tested by the community” (RTBC) state where one of the members from the core community team reviews the issue.
Fixed
When an issue passes from the RTBC state, it is moved to the Fixed state.
Closed (fixed)
After the Fixed state, the issue moves to Closed (fixed) automatically within two weeks. This is the last state of the issue.
Closed (duplicate)
When any issue gets created that is a duplicate of any earlier one, it directly gets closed as Closed (duplicate).
Closed (won’t fix)
This state represents that an issue has no solution.
Closed (works as designed)
This state represents that an issue raised is providing the functionality that it was supposed to and so moved to “works as designed”. In other words, the issue raised is not a bug but a feature.
Closed (cannot reproduce)
When an issue is not reproducible is moved to this state.
Closed (outdated)
When an issue is either too old to fix or gets fixed within some other module’s issue, the state can be Closed (outdated) for that issue.
Patch (to be ported)
When a Patch is to be ported to other versions of the Drupal/Contributed module.
Postponed
When the Issue/Feature/bug is postponed by the author/community and doesn’t need a fix.
Postponed (maintainer needs more info)
When an issue is raised but according to the maintainer of the Contributed module, more info is needed about the issue to get it fixed.
Drupal Contribution Issues
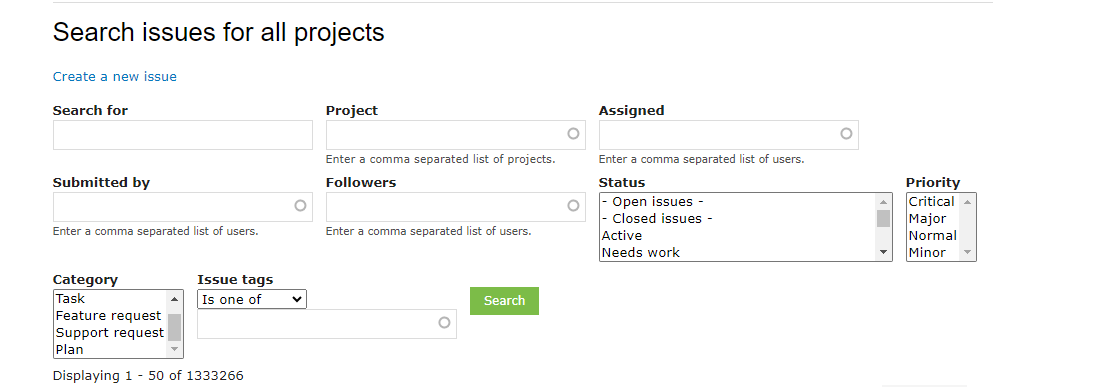
Step 1:
You can find an issue from the issue queue Issues for all projects.
Step 2:
you can also find the issues, by installing the modules and themes on your Drupal site.
Create an Issue
If you have any issues on the Drupal modules, themes, etc. you can create the issue.
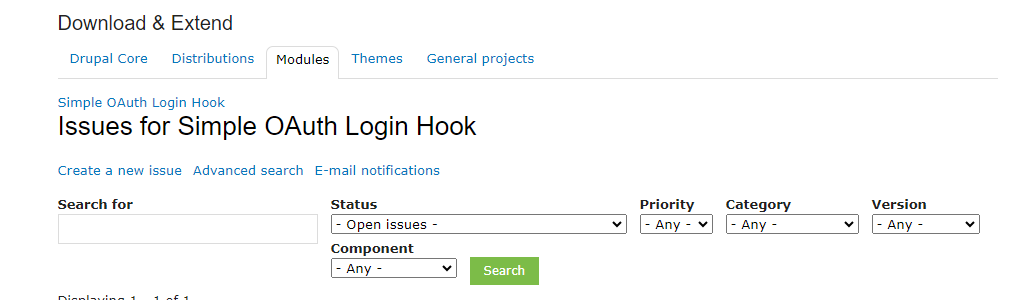
You have two cases to go to the issue queue.
Using the URL “ https://www.drupal.org/project/issues/<project_name> ”
OR
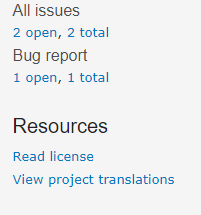
1: Go to the project page. https://www.drupal.org/project/<project_name>
2: You can see the issue section in the right sidebar.
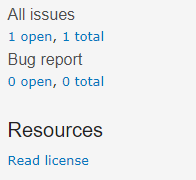
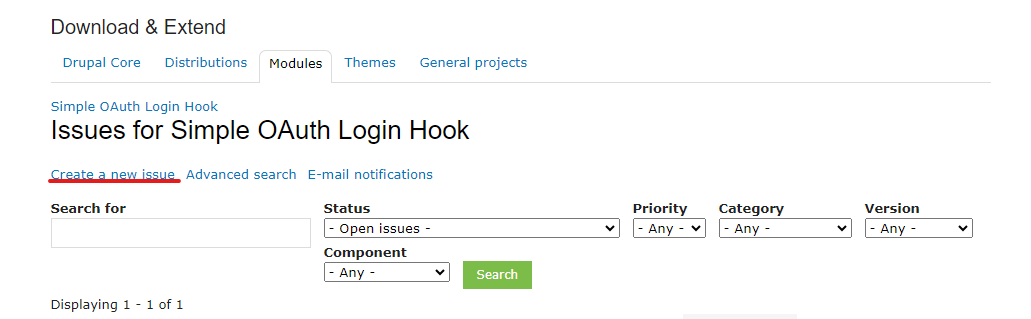
3: Click on the “total” of All issues
4: You can see the issue queue
5: Click to Create a new issue
6: The next step is to give details of the issue that needs to be created.
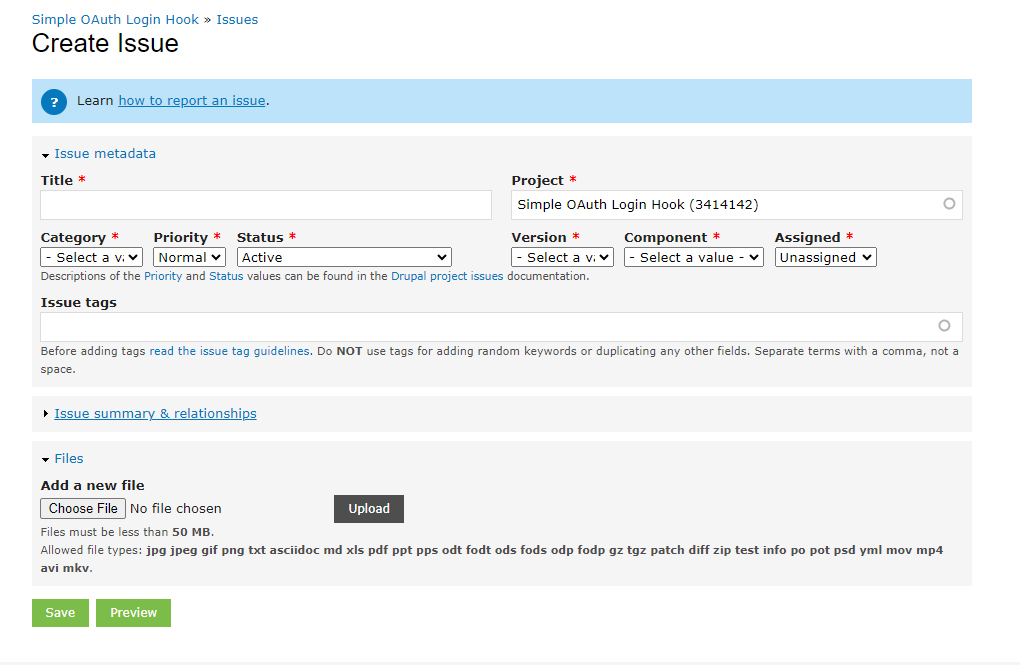
1. Title
Add the title of the issue.
2. Project:
The project name will be auto-selected.
3. Category
Select the category of the project. There are 5 categories
a. Bug
A bug is a functional error in the system. For example, php error, data loss, memory leak, incorrect or misleading documentation, incorrect or misleading user interface text, etc.
b.Task
These are not a functional bug but “need to be done” before the release.
c. Feature request
This is a request for completely new functionality to be added to the module and theme.
d. Support Request
If we need help on any part of the module or want to know about the Drupal core functionality.
Plan:
This tag is used when you have a problem that can not be resolved using one issue. Plan issues will often have multiple sub-steps related to “child” issues.
4. Priority
Select the priority of the issue. Here we have Critical, Major, Normal, and Minor.
5. Status
Select Active for new issues
6. Version
Select the version of the project in which the issue has to be fixed.
7. Component
Select the nearest match to the issue.
8. Assigned
The issue can be assigned to anyone. It is not mandatory and can be assigned later.
9. Tags
Tag the issue with appropriate tags. This can be left empty if we don’t know the issue tags. This is not mandatory and can be tagged later.
10. Issue Summary and Relationships:
Expand the field and we have the editor add the details of the issue.
11. Files
We can add the files related to the issues or we can upload the patch to the issue while creating under files. And save the issue. After saving the issue. The created issue will be added to the issue queue of the respective module.
Note: If you resolve the created issue, you can upload the solution in the issue queue.
For this, there are two ways here.
- IPatch
- Merge Request
Patch
- Create a new patch
- Update the existing patch.
To create a new patch
1: Open your terminal and go to the module location.
![]()
2: If the .git file is already there in your module then you have to delete it.
Run the command “ git init ”
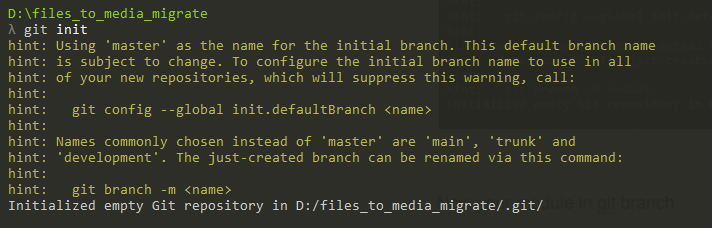
Now your module in the git branch
![]()
3: Run the command “ git add.

4: Run the command “ git status”
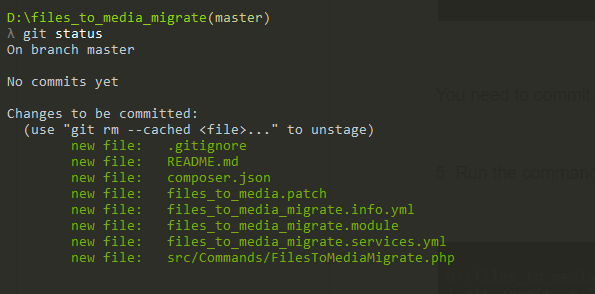
You need to commit to a new branch.
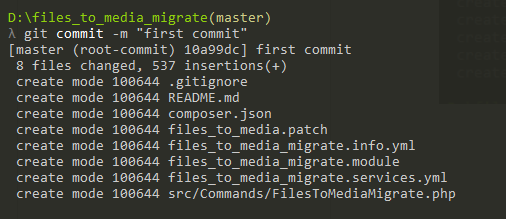
5: Run the command git commit -m “any commit message”
For your solutions, you need to change the code on your module.
6: After changes you need to run the “ git diff ” command

7: Run the last command “ git diff > file_name.patch”

Now you can see your patch inside of your module.
Submit a Patch
After creating a patch you need to submit the patch.
To submit the patch go to the issue page:
1. Issue metadata.

In the issue metadata, change the status to the needs review.
Unassign the issue if the issue is assigned to you and add or remove the tags as needed.
2. Attribute this contribution

Check the relevant options and add the organization if you are working for any organization. Adding this the credits will be given to the organization along with you when the issue gets fixed.
3. Add a description of the changes done in the patch under the comment section.
4. Choose the patch file and upload it under files.

Here we have added the files one by one and hit on upload after choosing the file. Clicking on upload the file will be uploaded and added to the list below.
Created MR (Merge Request) for the created issue
1: you need to “git access”
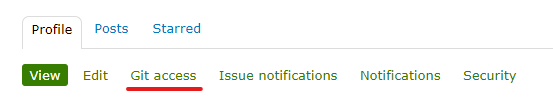
Add git username

Check on the I agree to these terms option then save your details.
2: Creating an issue fork: Go to the issue page and click the “Create issue fork” button

Understanding the issue fork area
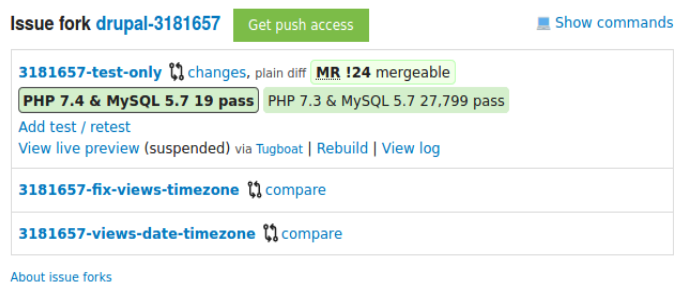
A link to the GitLab page for the issue fork. The link text is the fork repository name, which is PROJECT-ISSUE_NUMBER where PROJECT is the short/machine name of the project, and ISSUE_NUMBER is the issue number (example: drupal-3181657).
3: Click on the (example: drupal-3181657) open the module Repo
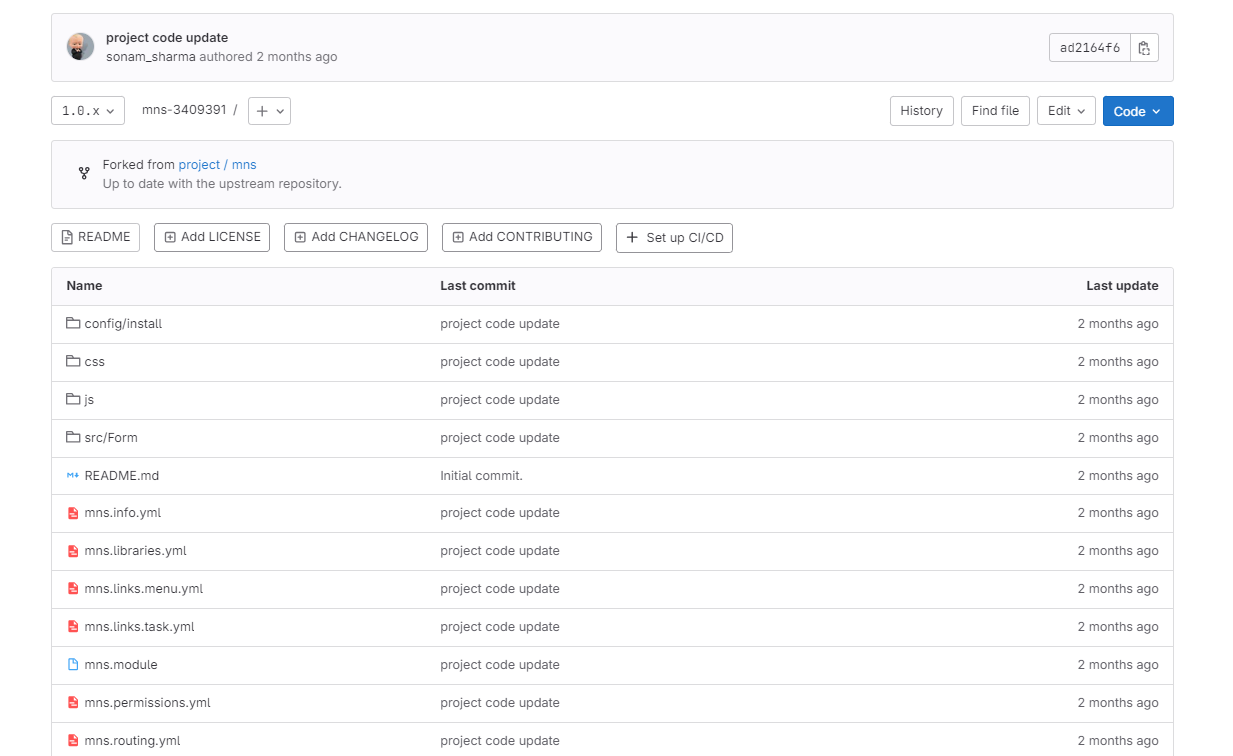
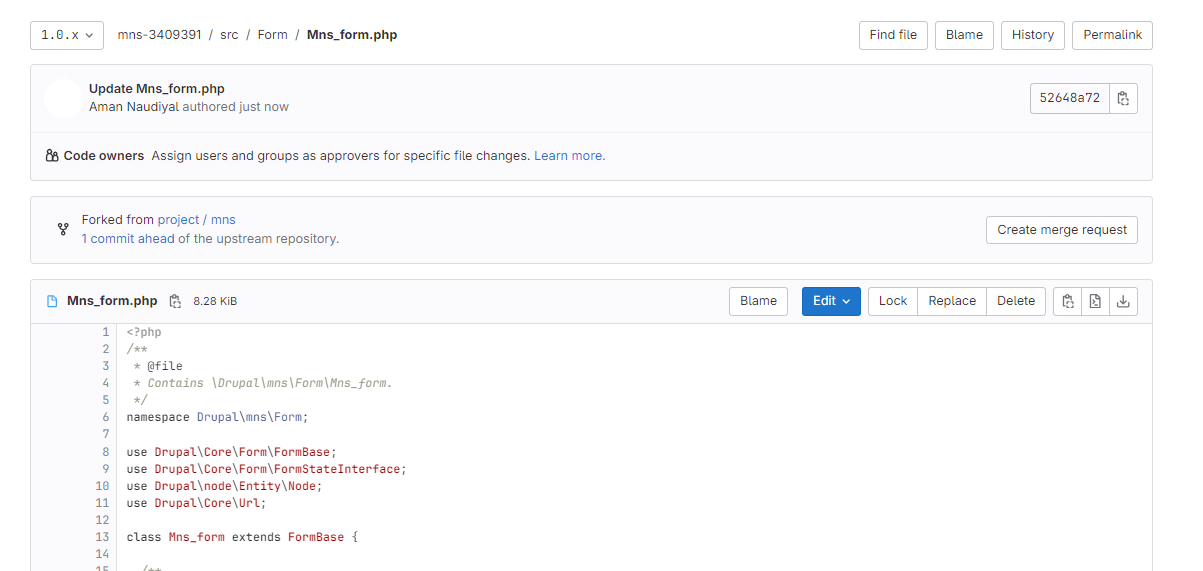
4: Open the file in which you want to edit the code. And edit the code. click the commit change button

5: Create a Merge request
6: After that, you need to insert some description for this commit
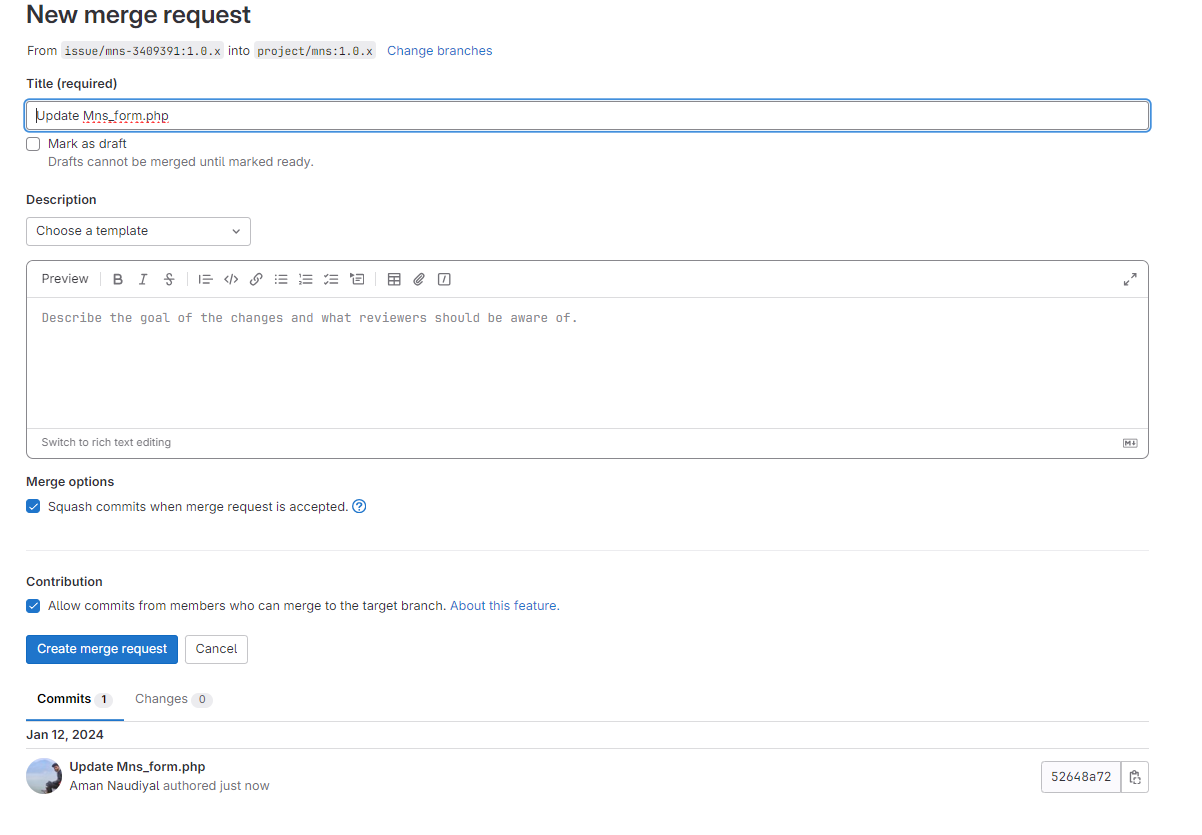
7: Click on the Create merge request button.
Now you can see your MR on your issue queue.

Let’s Wrap Up
Drupal contribution is the heartbeat of our open-source ecosystem. Your involvement, whether as a developer, designer, or documentation writer, is vital to enhancing Drupal’s capabilities. This will make it easy for contributors to connect with community members seeking technical support.
LN Webworks, with its team of experts in Drupal development & Consulting Services. Reach out to discover our Drupal development services and how we can level up your digital presence.
Author