How To Set Up Network Attached Storage (NAS) On Ubuntu

Overview Of Network Attached Storage (NAS)
A Network Attached Storage (NAS) is a dedicated file storage system that provides file access to multiple users and clients over a network. Unlike traditional external storage, a NAS offers.
Centralized Storage
A single, accessible location for all your digital assets.
Network-Wide Access
Files can be accessed from computers, smartphones, and tablets.
Data Sharing
Easy file sharing across different devices and platforms.
Backup and Redundancy
Simplifies data backup and protection strategies.
Prerequisites For Setting Up a NAS
Essential hardware, software, and network configurations needed to build a reliable and efficient NAS system.
Hardware Requirements
- A dedicated computer or server running Ubuntu
- Sufficient storage drives (HDD or SSD)
- Stable network connection (Ethernet recommended)
Software Requirements
- Ubuntu Server or Desktop (22.04 LTS recommended)
- Minimum system requirements (2 GHz dual-core processor, 4 GB RAM, 20 GB available storage)
Network Preparation
- Static IP address or DHCP reservation for the NAS server.
- Network router with adequate bandwidth.
- Firewall configurations
How To Set Up A NAS With Samba: A Step-by-Step Guide
Setting up a NAS with Samba on Ubuntu allows you to share files across your network easily. Start by installing Samba on your Ubuntu server, then configure the Samba settings and create shared directories.
1. System Update and Samba Installation
# Update system packages
 sudo apt update
 sudo apt upgrade -y
 # Install Samba
 sudo apt install samba -y
 # Verify Samba installation
 whereis samba
2. Configure Samba
Edit Samba configuration
sudo nano /etc/samba/smb.conf
Add the following configuration
[global]
 workgroup = WORKGROUP
 server string = %h server (Samba, Ubuntu)
 security = user
 map to guest = bad user
 dns proxy = no
[Apps]
 path = /samba/apps
 browseable = yes
 writable = yes
 guest ok = yes
 read only = no
 create mask = 0777
 directory mask = 0777
3. Validate and Restart Samba
# Check configuration
 testparm
 # Restart Samba services
 sudo systemctl restart smbd nmbd
4. Configure Firewall
sudo ufw allow samba
 sudo ufw enable
5. Create Samba Shared Directory
# Create directory with full permissions
 mkdir -p /samba/apps
 chmod -R 777 /samba/apps
Optimizing Your Client-Side Setup For Samba Access
A guide to configuring Samba access on Windows, Linux, and Mac for seamless file sharing.
Windows Access
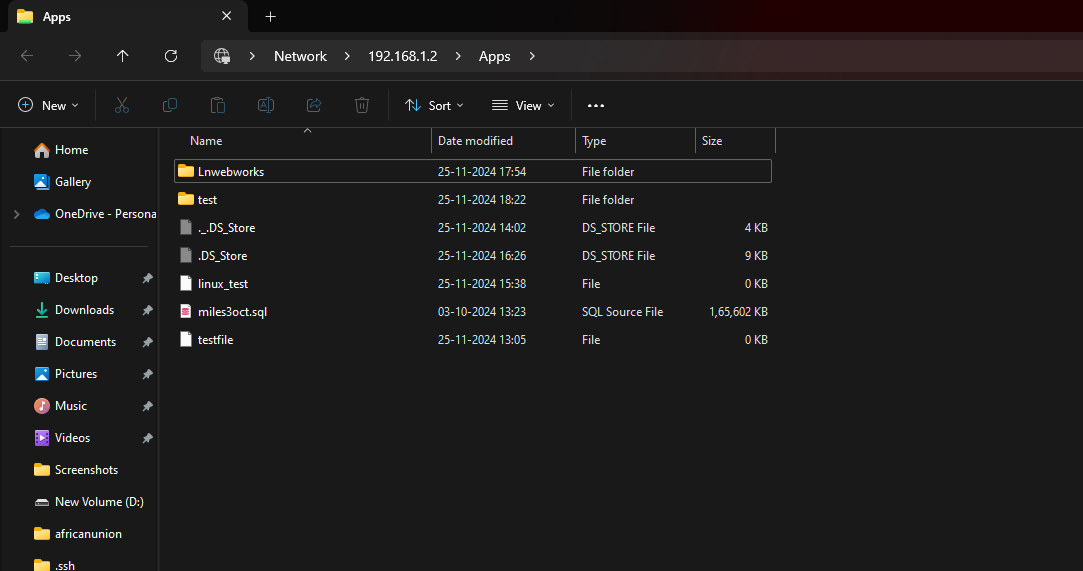
- Path: <Server_IP>Apps (example : \192.168.1.2Apps)
- Requires Windows SMB/CIFS support

Linux Client Setup
# Install required packages
 sudo apt install cifs-utils samba-client -y
# Create mount point
sudo mkdir -p /mnt/samba/apps
# Mount Samba share
sudo mount -t cifs //<Server_IP>/Apps /mnt/samba/apps
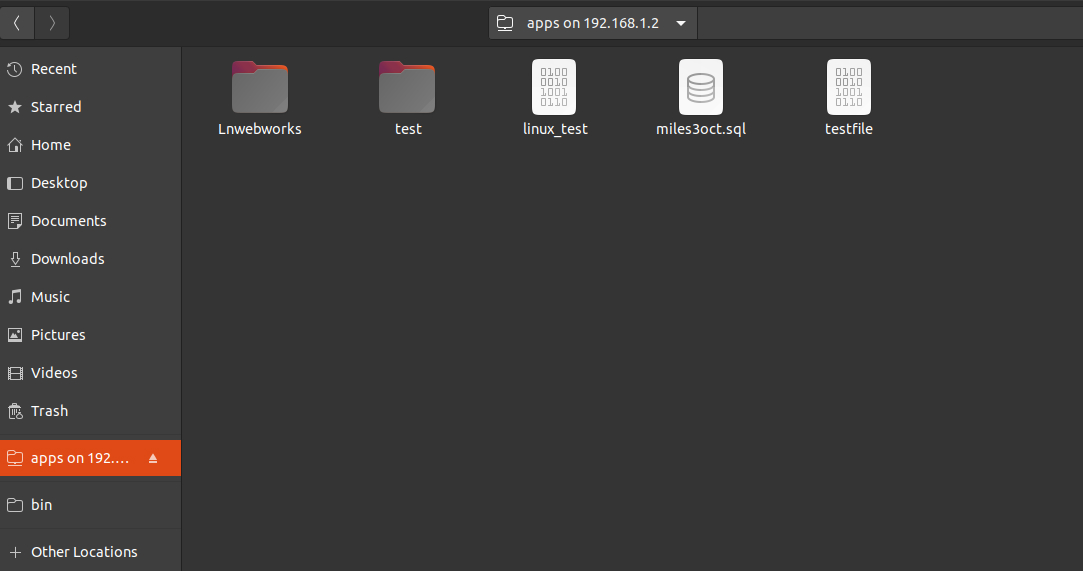
Linux access :-
Use :- > files
Enter : smb://<Samba_IP>/apps/

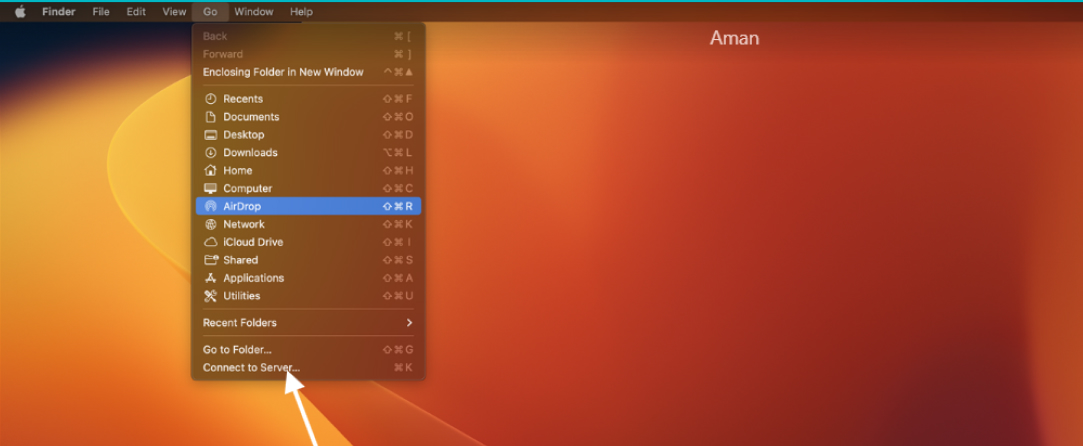
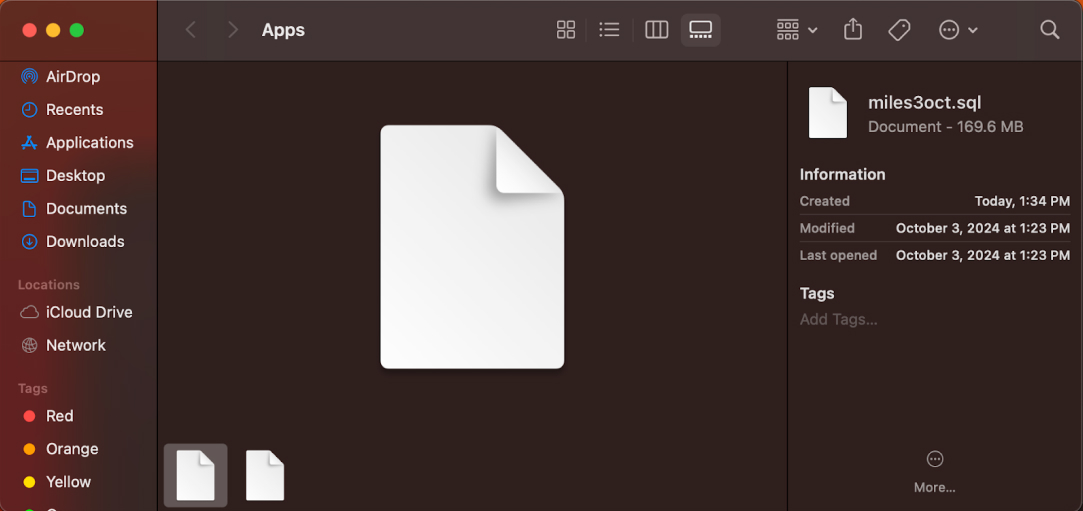
Mac Access
- Use Finder > Go > Connect to Server.
- Enter: smb://<Server_IP>/apps
Troubleshooting
- Verify network connectivity
- Check Samba service status: sudo systemctl status smbd nmbd
- Confirm share configurations
- Verify firewall settings
References
- Samba Documentation : https://www.samba.org/samba/docs/
- Ubuntu Server Guide : https://ubuntu.com/server/docs
Conclusion
Setting up a NAS system with Samba on Ubuntu provides a methodical way to centralize file storage and improve data sharing across devices. At LN Webworks, we specialize in IT solutions and can help you configure and optimize your NAS for seamless operation.
Contact us today to enhance your business’s storage capabilities with expert support.
Ready To Discuss Your Idea?
Collaborate with us and bring your ideas to life.